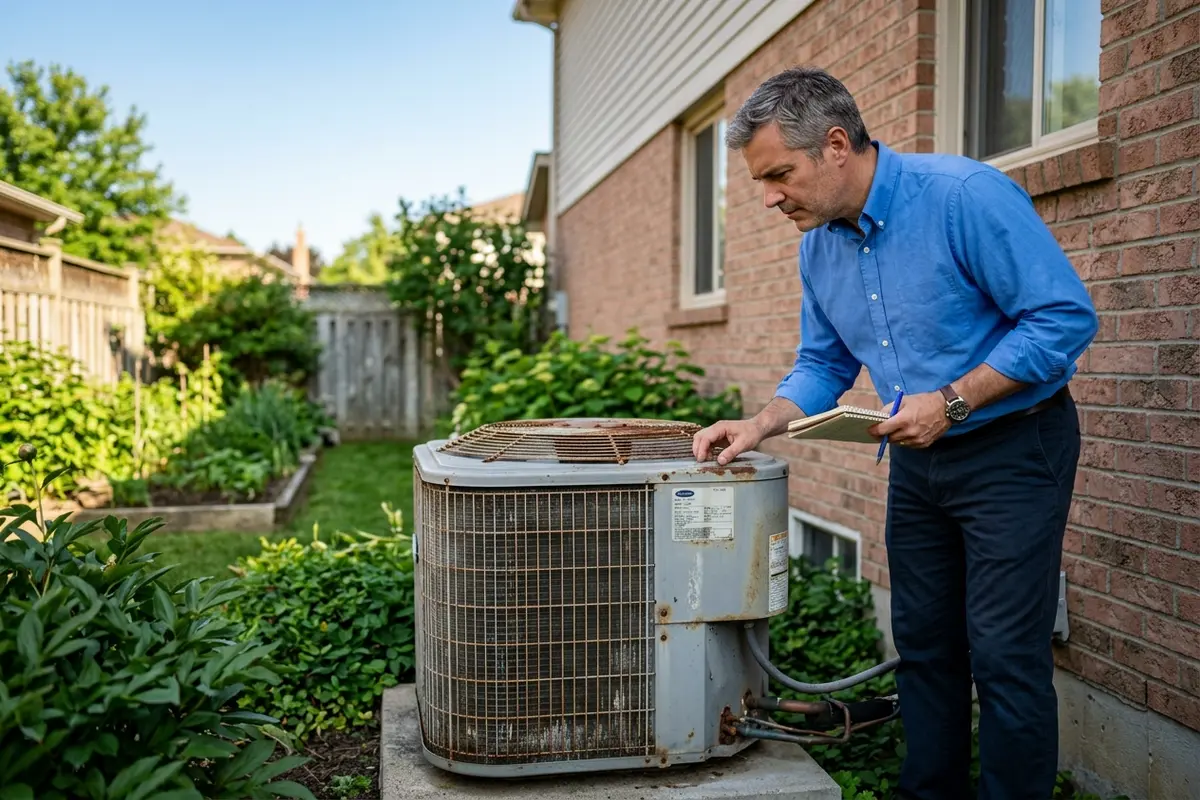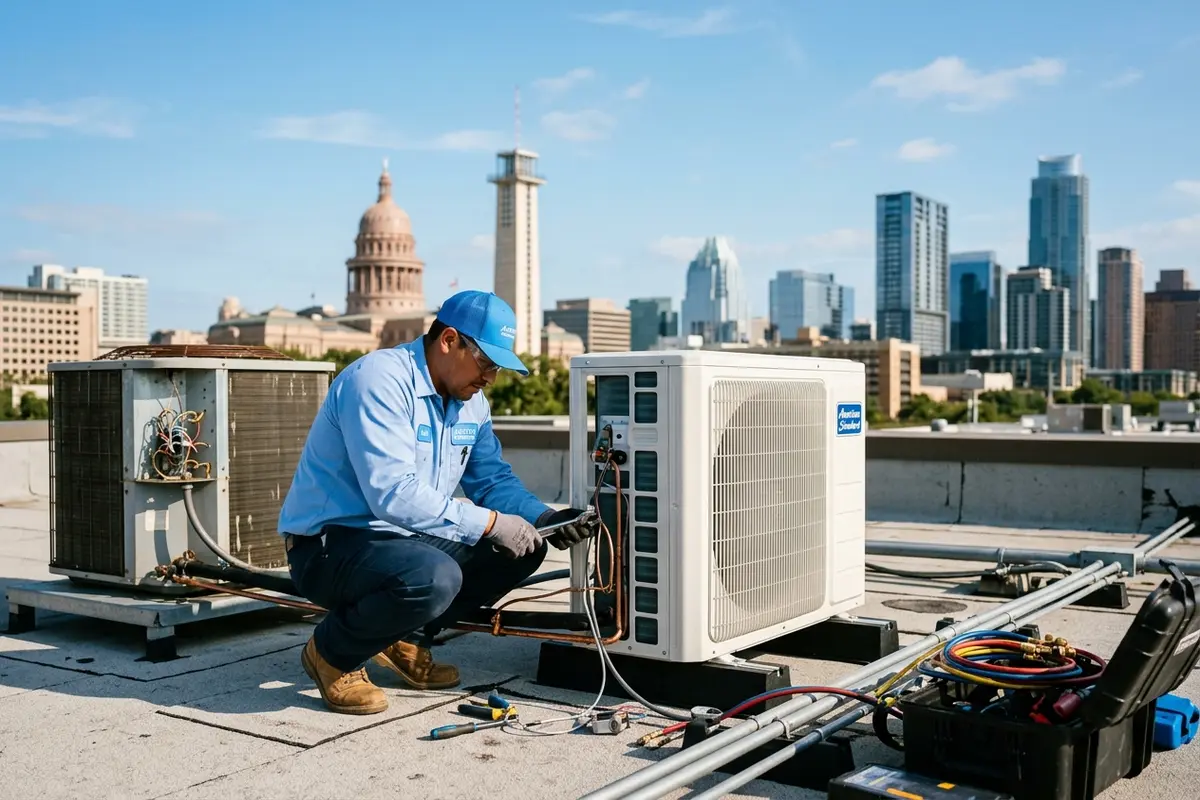
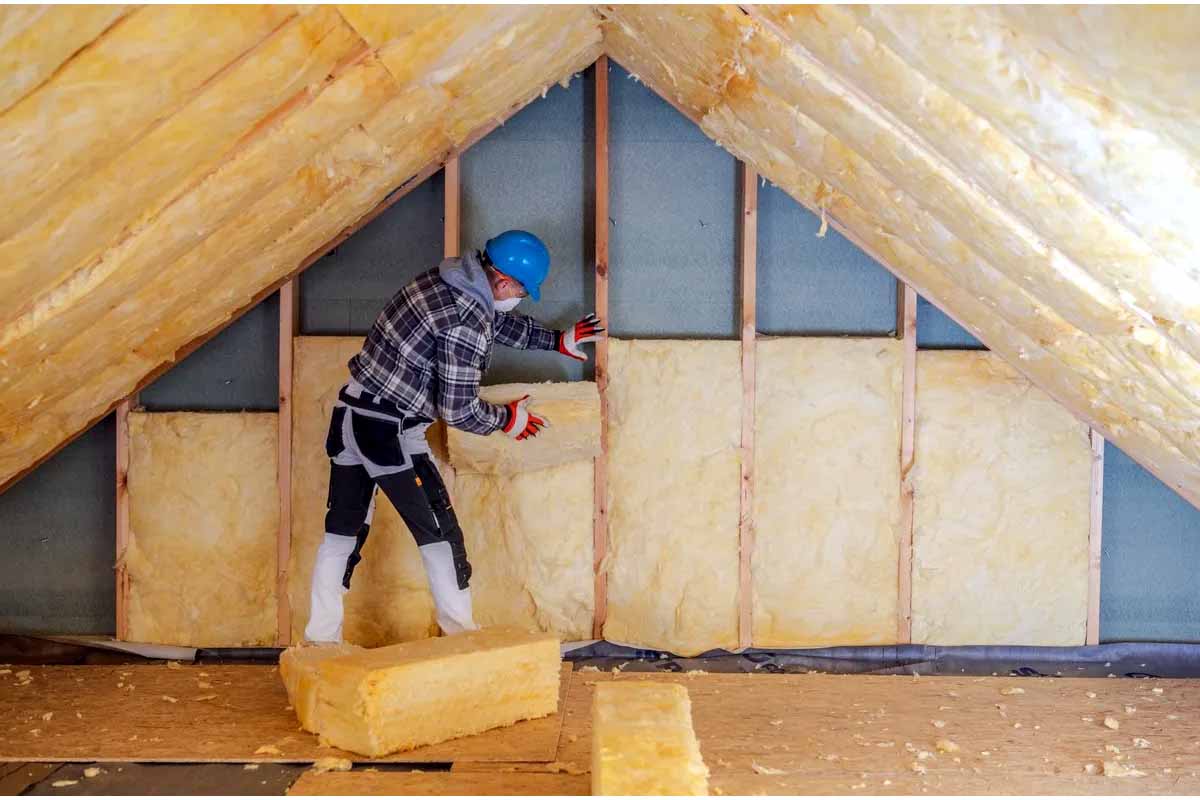
The best way to insulate an attic ceiling is to seal every air leak first, then blow loose-fill cellulose or fiberglass across the attic floor to at least R-49, and add a radiant barrier under the roof in hot climates like Austin, TX. At Greenwood Air Duct Cleaning, we also tell homeowners to clean and inspect the air ducts, dryer vent, and chimney before installing insulation. That order keeps dust out of your new insulation, protects your indoor air, and helps your AC work less during long Texas summers.
Why Attic Insulation Matters So Much in Austin
Austin summers are long and hot. On a 100-degree afternoon, the air inside an attic can climb past 140°F. All of that heat pushes down through the ceiling and into your living space. If the insulation is thin, packed down, or full of gaps, your air conditioner has to run longer to keep up.
The U.S. Department of Energy notes that heating and cooling make up a large share of a typical home’s energy use. A well-insulated attic is one of the simplest ways to cut that load. It also makes rooms feel more even, so the upstairs bedroom is not ten degrees warmer than the kitchen.
Many Austin homes also have their HVAC unit and ductwork in the attic. That means your cooled air travels through the hottest part of the house before it reaches you. Good insulation, tight ducts, and clean air lines all work together here. When one of them fails, the others can’t make up for it.
Know the R-Value Your Attic Needs
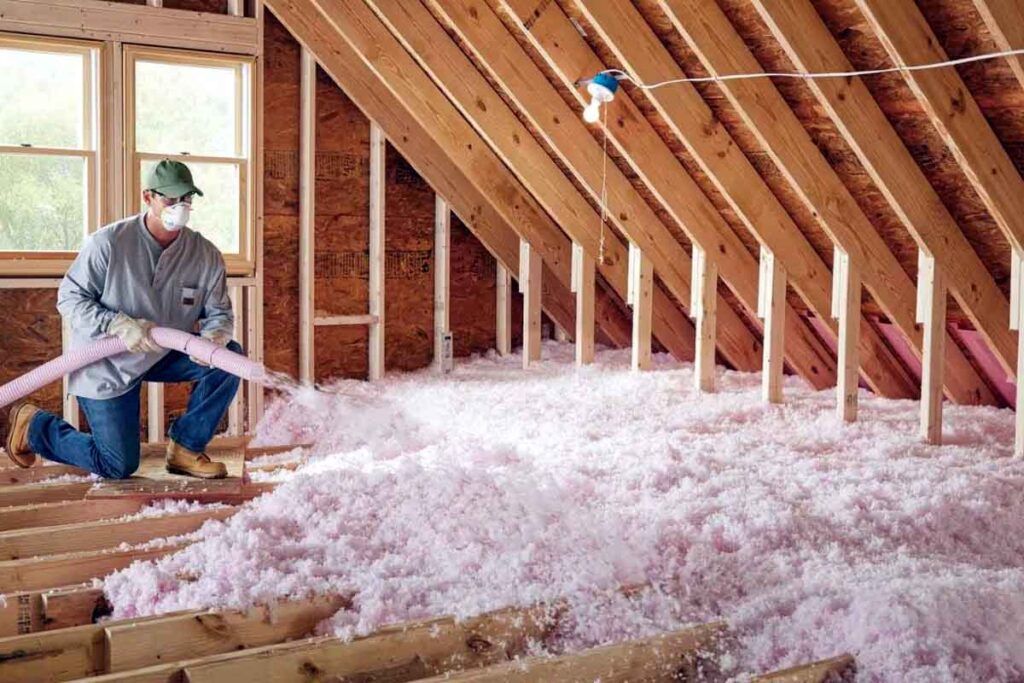
R-value measures how well a material resists heat flow. The higher the number, the better it insulates. Austin sits in Climate Zone 2 under the International Energy Conservation Code, and ENERGY STAR recommends R-49 to R-60 for an uninsulated attic in this zone. If you already have three to four inches of insulation, adding R-38 to R-49 on top is usually enough.
In real terms, R-49 means roughly 13 to 16 inches of blown-in insulation, depending on the material. Grab a tape measure and check your current depth between the ceiling joists. If you can see the tops of the joists, you almost certainly need more.
Step 1: Air Seal Before You Insulate
Insulation slows heat, but it does not stop air. Warm, dusty attic air can slip into your home through small gaps around light fixtures, plumbing pipes, wiring holes, attic hatches, and the top plates of interior walls. If you pile insulation over these gaps, air keeps moving right through it.
Use caulk for small cracks under a quarter inch. Use low-expansion spray foam for larger gaps around pipes and wires. Weatherstrip the attic hatch or pull-down stairs and add a rigid foam cover on top. For open chases around flues or large bypasses, cut rigid foam board or sheet metal to fit and seal the edges.
Air sealing is often the step people skip, yet it can deliver as much savings as the insulation itself. It also keeps attic dust and fiberglass particles from drifting into your bedrooms.
Step 2: Prepare Your Air Ducts, Dryer Vent, and Chimney
This is the step most insulation guides leave out, and it’s where our team spends a lot of time. Once new insulation is blown in, your ducts get buried under a foot or more of material. Reaching them later becomes messy and costly. That’s why it pays to deal with them first.
Clean and Inspect Your Air Ducts
Attic ducts collect dust, pet hair, pollen, and sometimes rodent debris over the years. Leaky joints can also pull attic air, and even insulation fibers, straight into your supply system. Our dirty duct cleaning service uses truck-mounted and portable vacuums with strong suction to pull out built-up debris. We inspect the system before we clean, so you’ll know about loose connections, crushed flex duct, or torn insulation wrap before the attic gets covered.
For offices, retail spaces, and other buildings, our commercial air duct cleaning service handles larger systems with the same deep-inspection approach. Clean ducts plus a well-insulated ceiling mean better air quality and a more comfortable workspace.
Check the Dryer Vent Route
In many Austin homes, the dryer vent runs up through the attic to the roof. If that line is clogged with lint, it can overheat, and lint is highly flammable. Covering a blocked or disconnected vent with insulation hides the problem. Our dryer vent cleaning service clears the full run and confirms the line is properly connected, so it can vent safely once the attic is finished.
Keep Insulation Safe Around the Chimney
Chimneys and flues need clearance from combustible materials. Loose insulation should never be packed tight against a chimney or metal flue. Building codes call for a non-combustible barrier, often sheet metal sealed with fire-rated caulk, around these openings. Before insulating, it’s smart to book chimney cleaning and an inspection so you know the chimney is in good shape and free of creosote buildup.
Step 3: Choose the Right Insulation Material
There is no single perfect material for every home. The right choice depends on your attic layout, budget, and whether your HVAC system lives up there.
Blown-In Cellulose
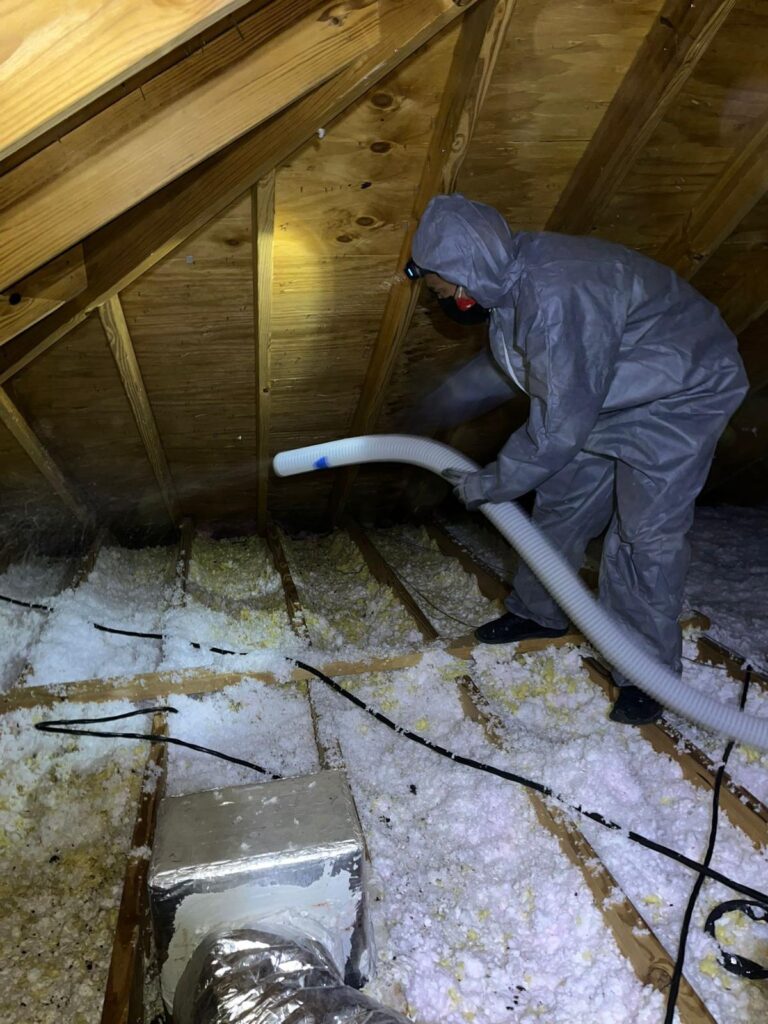
Cellulose is made mostly from recycled paper treated with fire retardant. It fills gaps and odd spaces well, settles into a dense layer, and does a good job of slowing air movement. It offers about R-3.2 to R-3.8 per inch. For most open attic floors in Austin, cellulose is one of the best-value options.
Blown-In Fiberglass
Loose-fill fiberglass is lightweight, won’t absorb moisture easily, and does not settle as much as cellulose. It offers about R-2.2 to R-2.7 per inch, so you need a deeper layer to reach R-49. It’s a solid choice for attics with low clearance or where weight is a concern.
Fiberglass Batts
Batts are rolls or pre-cut pieces that fit between joists. They work well in attics with standard joist spacing and few obstacles. The downside is that gaps around wires, pipes, and fixtures are common, and even small gaps reduce performance. If you use batts, cut them carefully and avoid compressing them.
Spray Foam Under the Roof Deck
Spray foam is applied to the underside of the roof instead of the attic floor. This creates a “conditioned” or semi-conditioned attic, which keeps your ducts and HVAC unit out of extreme heat. It costs more upfront but can make sense in Austin homes where the air handler and ductwork sit in the attic. Closed-cell foam offers about R-6 to R-7 per inch, while open-cell offers about R-3.5 to R-3.7 per inch. This job should be done by a licensed installer, and the attic may need changes to its ventilation plan.
Step 4: Add a Radiant Barrier for Texas Heat
In hot, sunny climates, radiant heat from the roof is a big part of the problem. A radiant barrier is a reflective foil sheet stapled to the underside of the rafters. It reflects heat toward the roof before it can warm the attic.
The Department of Energy reports that radiant barriers work best in hot climates and can trim cooling costs, especially when ducts are in the attic. In Austin, pairing a radiant barrier with R-49 insulation on the floor is one of the most effective combinations for summer comfort.
Step 5: Keep Attic Ventilation Working
A healthy attic needs to breathe. Soffit vents let cool air in low, and ridge or roof vents let hot, moist air out up high. When you blow in insulation, install baffles (also called rafter vents) at the eaves so insulation doesn’t block soffit airflow.
Blocked ventilation traps heat and moisture. Over time, that can lead to mold, damaged roof decking, and even dirtier ductwork. If you choose spray foam on the roof deck, the attic becomes sealed and follows different rules, so talk with your installer about how that affects ventilation.
DIY or Professional Installation?
Many homeowners can handle air sealing and batt insulation on their own with the right safety gear, including a respirator, goggles, gloves, and long sleeves. Some home stores even lend out insulation blowers when you buy loose-fill material.
That said, attic work in Austin is hot, cramped, and sometimes risky. Stepping off a joist can put a foot through your ceiling. Spray foam and large blown-in jobs are best left to licensed insulation contractors. Either way, schedule your duct, dryer vent, and chimney service before the insulation crew arrives. It’s much easier to fix a problem when the attic floor is still open.

Signs Your Attic Ceiling Needs Better Insulation
Watch for high summer energy bills, rooms that never feel cool, an AC that runs almost nonstop, and hot ceilings you can feel with your hand. Dusty rooms, even right after cleaning, can point to air leaks and dirty ducts working together. If you notice more than one of these signs, it’s a good time to inspect your attic and your air system together.
Final Thoughts
The best way to insulate an attic ceiling comes down to doing the steps in the right order. Seal the air leaks, prepare your ducts and vents, choose a material that fits your attic, and aim for R-49 or higher. In Austin’s heat, adding a radiant barrier and keeping ventilation clear make a big difference in comfort and cooling costs.
Before you bury your ductwork under a fresh layer of insulation, let Greenwood Air Duct Cleaning make sure it’s clean, sealed, and working the way it should. Our trained technicians serve homes and businesses across Austin, TX, with dirty duct cleaning, dryer vent cleaning, chimney cleaning, and commercial air duct cleaning. Contact Greenwood Air Duct Cleaning today to schedule an inspection and start your attic project on the right foot.