
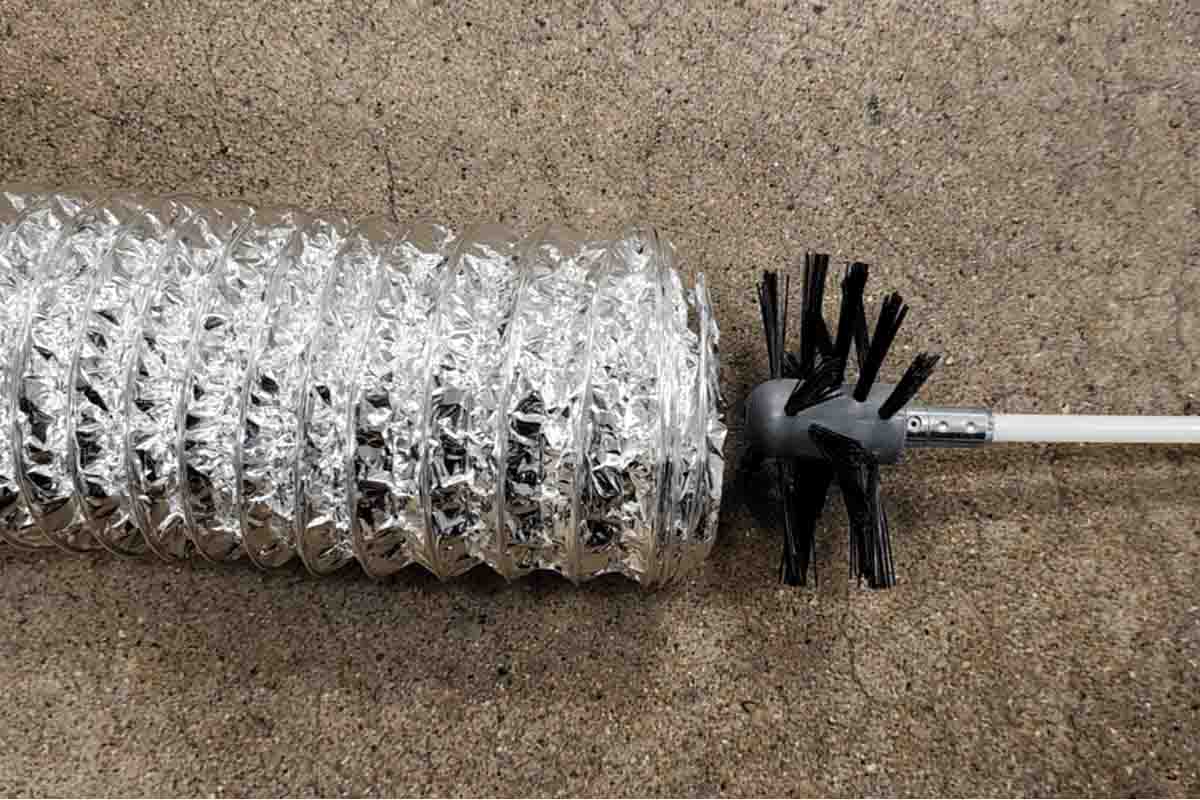
A brush for dryer vent cleaning is a long, flexible-shaft brush fitted with stiff nylon or polypropylene bristles that travels through the vent duct to loosen and pull out packed lint. Most kits use a threaded rod system that extends anywhere from 12 to 40 feet, and the brush head can be turned by hand or spun with a cordless drill for faster results. At Greenwood Duct Cleaning, we consider this tool the single most effective piece of equipment a homeowner can own for routine dryer vent maintenance, provided it is matched to the duct size and used with the right technique. Over the years, our technicians have pulled out lint mats thick enough to block airflow almost completely, and in nearly every one of those homes, the owner assumed that emptying the lint trap was enough. It is not. The lint trap catches roughly the visible portion of what your dryer sheds. The rest travels into the duct, settles on the ribbed interior walls, and slowly narrows the passage until your dryer is fighting to push hot, moist air outside. A good brush reaches that hidden buildup.
What a Dryer Vent Brush Actually Does
The purpose of the brush is mechanical agitation. Lint clings to duct walls because of static, moisture, and the sticky residue left behind by fabric softener sheets. Vacuum suction alone often pulls the loose surface lint but leaves the compacted layer bonded to the metal. When bristles scrub that layer, the lint releases in clumps that can then be vacuumed or pushed out the exterior vent hood.
Bristle stiffness matters here more than length. Bristles that are too soft glide over the buildup without disturbing it, while wire bristles can scratch or puncture flexible foil ducting. This is why most quality dryer vent cleaning brushes use dense synthetic bristles arranged in a spiral pattern, which grip the duct wall on the way in and comb debris back toward the opening on the way out.
Why Lint Buildup Deserves Serious Attention
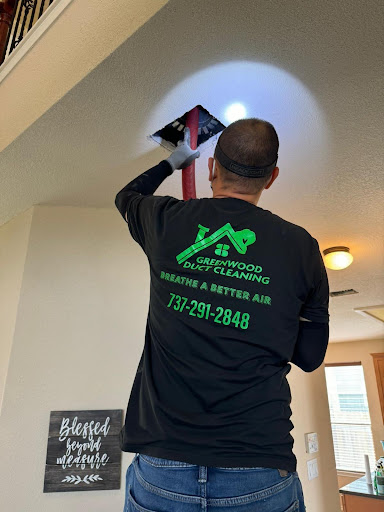
The U.S. Fire Administration and the National Fire Protection Association have both identified failure to clean as the leading cause of home clothes dryer fires. Lint is dry, fine, and highly combustible, and a restricted vent traps heat inside the duct where an ignition source is already present. That is the risk homeowners hear about most often, and it is a legitimate one.
The everyday cost is quieter. A restricted vent makes your dryer run two or three cycles to finish a single load, which raises energy bills and shortens the life of the appliance’s heating element and thermal fuse. Trapped moisture also has to go somewhere, and it frequently ends up in the laundry room as humidity, condensation on walls, or a musty smell that no amount of cleaning products will fix. Using a brush for dryer vent cleaning on a regular schedule addresses all of these problems at once.
Types of Brushes Used for Dryer Vent Cleaning
Rotary Brush Kits with Flexible Rods
This is the most common option for residential use. The kit includes a round brush head and several flexible fiberglass or nylon rods that screw together to extend reach. Attaching the first rod to a drill lets the brush spin as it advances, which clears buildup far more effectively than pushing alone. Greenwood Duct Cleaning generally recommends this style for homeowners with duct runs under 20 feet and no more than one or two bends.
Manual Long-Handle Lint Brushes
These are simpler tools with a fixed or semi-flexible handle, usually two to four feet long, topped with a narrow brush head. They are excellent for cleaning the dryer’s rear exhaust port, the lint trap housing, and the first stretch of duct directly behind the appliance. They cannot reach deep into a long run, but they handle the areas where lint concentrates most heavily right at the source.
Auger and Whip Systems for Professional Work
Commercial technicians often use powered rotary augers and air-driven whips that combine mechanical scrubbing with high-volume negative air suction. These systems navigate long runs, rooftop terminations, and multi-story vertical shafts that a consumer kit cannot manage safely. They also capture released debris rather than pushing it further down the line, which is essential in shared or multi-unit buildings.
Choosing the Right Brush for Your Vent
Start with duct diameter. Standard residential dryer ducts are four inches, so a brush head sized four to four and a half inches gives proper wall contact without jamming. A head that is too small skims the center and leaves the walls untouched, while one that is oversized can bind in an elbow and separate from the rod.
Next, measure your run. Walk outside and locate the exterior vent hood, then estimate the distance back to the dryer, adding two or three feet for each turn. Buy a kit that exceeds that length rather than matching it exactly, because you will need slack to work the brush back and forth.
Finally, check what your duct is made of. Rigid galvanized metal tolerates aggressive brushing and drill rotation. Semi-rigid aluminum handles moderate work. Flexible foil or plastic ducting is fragile, prone to tearing, and no longer permitted under most building codes, so if you find it behind your dryer, replacing it should come before cleaning it.
Step-by-Step: Cleaning Your Dryer Vent with a Brush
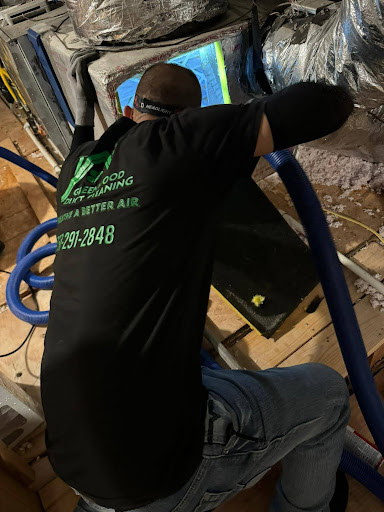
Begin by unplugging the dryer, and if you have a gas unit, close the gas shutoff valve before disconnecting anything. Pull the appliance away from the wall far enough to work comfortably and detach the duct from the rear exhaust port.
Use a shop vacuum to remove loose lint from the dryer’s exhaust opening and from the first accessible section of duct. Then assemble two or three rods, attach the brush head, and insert it into the duct from the interior side. If you are using a drill, run it in the forward direction only, because reverse rotation unthreads the rods and can leave a brush head stranded inside your wall. Advance the brush slowly, adding rods as needed, and pull it back a foot or so periodically to sweep loosened lint toward you. Work the full length until the brush emerges at the exterior hood or reaches the far end of the run. Vacuum everything the brush has dislodged, clean the exterior vent hood and its damper flaps by hand, then reconnect the duct with a clamp rather than sheet metal screws, since screws protrude into the airflow and catch lint.
Reconnect power or gas, run the dryer on the air-fluff setting for several minutes, and step outside to confirm you can feel strong, steady airflow at the vent hood. That final check tells you whether the job worked.
Mistakes Our Technicians See Most Often
The most frequent error is stopping too early. Homeowners clean the three or four feet they can reach and assume the rest is fine, when the heaviest deposits usually sit at bends and near the exterior termination. Another common issue is using a leaf blower instead of a brush, which pushes lint deeper and packs it against elbows rather than removing it. We also see damaged ducts caused by running a drill in reverse or forcing a brush through a crushed section instead of investigating why it stopped.
How Often Should You Brush a Dryer Vent?
For a typical household running four to six loads a week, once a year is a reasonable baseline. Larger families, homes with pets, long duct runs, and vents that exit through the roof all warrant cleaning every six months. Certain signs override the calendar entirely: clothes that stay damp after a full cycle, a dryer cabinet that feels hot to the touch, a burning smell, or lint appearing around the exterior hood all mean the vent needs attention now.

When a Brush Is Not Enough
There are situations where a consumer brush kit reaches its limit. Runs longer than 25 feet, vents with three or more elbows, rooftop terminations, ducts shared between units, and any vent where a bird nest or rodent nest may be present all call for professional equipment and access. If you feel the brush stop against a solid obstruction, do not force it. Forcing a brush through a blockage can crush the duct or wedge the head permanently.
Greenwood Duct Cleaning uses camera inspection alongside powered rotary systems, so we can see the condition of the duct interior before and after service rather than guessing. That documentation also matters if you are selling a home, satisfying an insurance requirement, or managing a rental property where you need proof the work was done.
Final Thoughts
A brush for dryer vent cleaning is an inexpensive tool that solves a genuinely serious problem, and for most homes with a short, straightforward duct run, buying a quality rotary kit and using it once a year is time well spent. Match the brush head to your duct diameter, buy more rod length than you think you need, spin the drill forward only, and finish by verifying airflow at the exterior hood.
When the run is long, the path is complicated, or you simply want confirmation that the duct is genuinely clear, Greenwood Duct Cleaning is ready to handle it with commercial equipment and camera verification. Either way, the goal is the same: a dryer that dries in one cycle, a duct free of packed lint, and one fewer fire risk in your home.