To insulate your attic ceiling, start by sealing air leaks, then add insulation between the ceiling joists on the attic floor until you reach R-38 to R-60, the level recommended for Austin’s hot climate. Blown-in insulation works best for most homes, while batts suit open, even joist bays. At Greenwood Air Duct Cleaning in Austin, TX, we recommend getting your air ducts, dryer vent, and chimney cleaned and inspected before you insulate, since dirty or leaky systems in the attic can cancel out the savings you’re working toward.
Why Attic Insulation Matters So Much in Austin
Austin summers are long and brutal. On a 100-degree day, the air inside an unfinished attic can climb past 130 degrees. All that heat pushes down through your ceiling and into your living space, which forces your AC to run longer and harder.
A well-insulated attic ceiling acts like a thermal shield. It slows heat from moving into your home in summer and keeps warm air inside during the occasional winter cold snap. According to ENERGY STAR, homeowners can save an average of 15% on heating and cooling costs by air sealing and adding insulation in attics, floors over crawl spaces, and basements.
In our work across Austin homes, we often find attics with thin, packed-down insulation that has not been touched in decades. Older homes in neighborhoods like Hyde Park, Travis Heights, and Allandale are common examples. Adding fresh insulation is one of the most cost-effective upgrades a homeowner can make.
Attic Floor vs. Attic Ceiling: Which One Are You Insulating?
Many people search for attic ceiling insulation, but the term can mean two different things, so it helps to be clear before you start.
The first meaning is the ceiling of your living space, which is the floor of the attic. This is the most common approach for vented attics in Texas. You lay or blow insulation between the joists on the attic floor, and the attic above stays hot and ventilated.
The second meaning is the underside of the roof, meaning the rafters. This approach creates a sealed, or “conditioned,” attic. It is usually done with spray foam and is often recommended when HVAC equipment and ductwork sit in the attic. Because it changes how the whole attic handles moisture and airflow, roofline insulation is best left to a licensed contractor.
This guide focuses mainly on the first method, since it is the most practical project for a homeowner.
What R-Value Do You Need in Austin, TX?
R-value measures how well insulation resists heat flow. The higher the number, the better it performs. Austin falls in climate zone 2 on the U.S. Department of Energy map. For an uninsulated attic in this zone, the DOE recommends R-30 to R-60. If your attic already has 3 to 4 inches of older insulation, adding R-25 to R-38 on top is usually enough.
For most Austin homes, R-38 is a smart target. It balances cost with strong performance. Depending on the material, reaching R-38 takes roughly 10 to 16 inches of depth. Always check the coverage chart printed on the insulation bag, since each product lists the exact depth and number of bags needed per square foot.
Choosing the Right Insulation Type
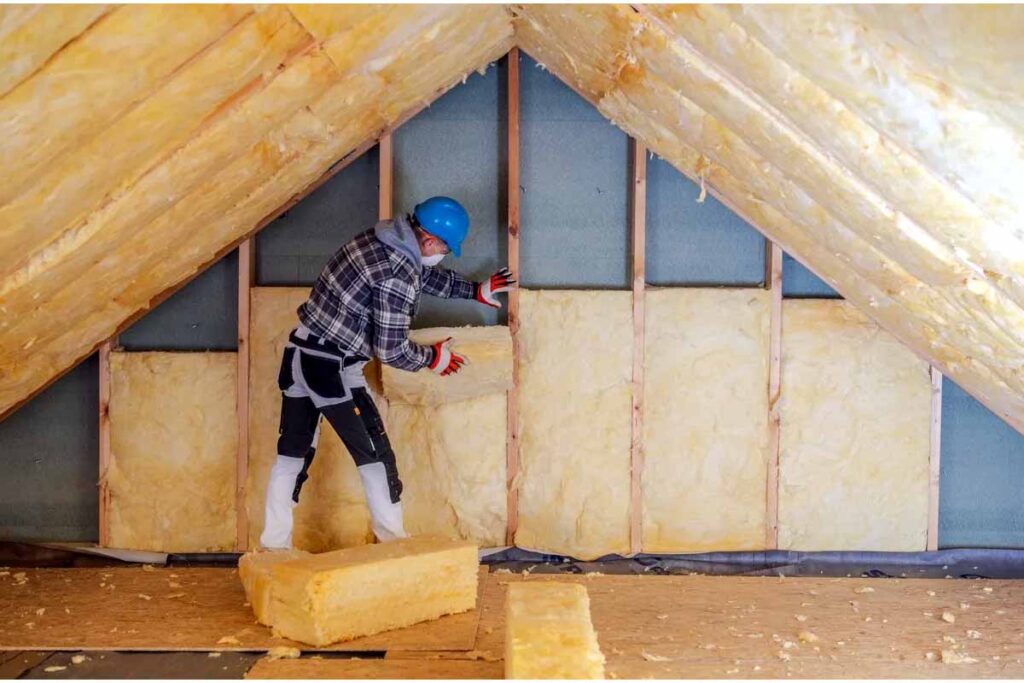
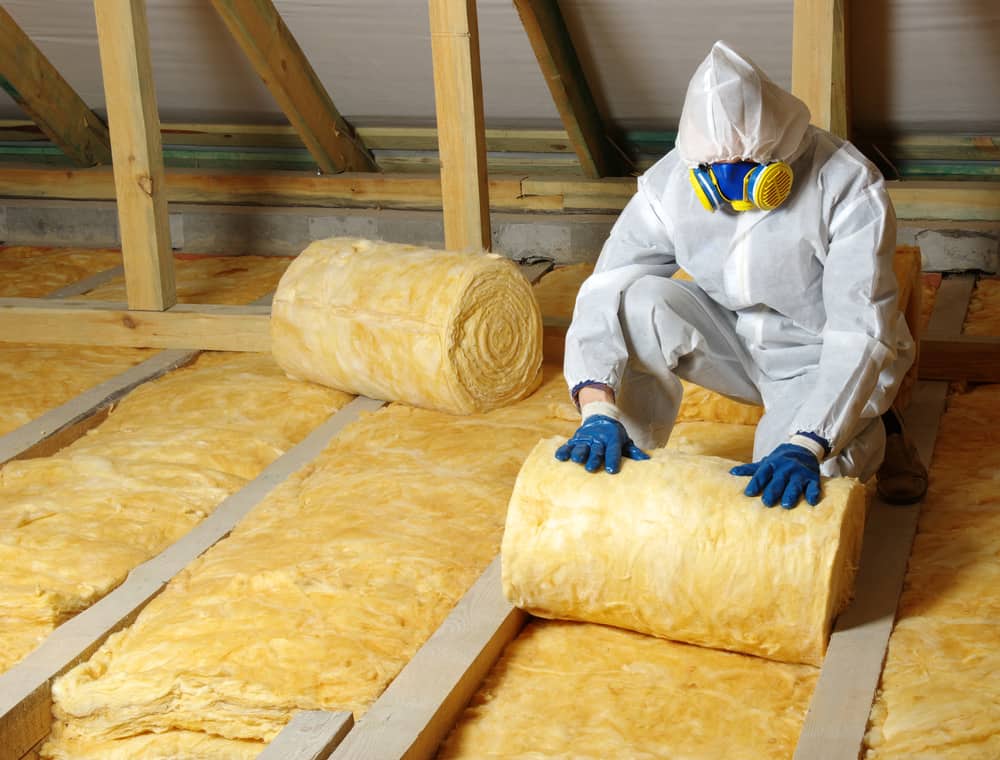
Fiberglass batts are pre-cut blankets that fit between joists. They are easy to find at any home store and simple to handle. They work best when your joists are evenly spaced, and the attic has few obstacles. The downside is that gaps around wires and pipes can reduce their performance.
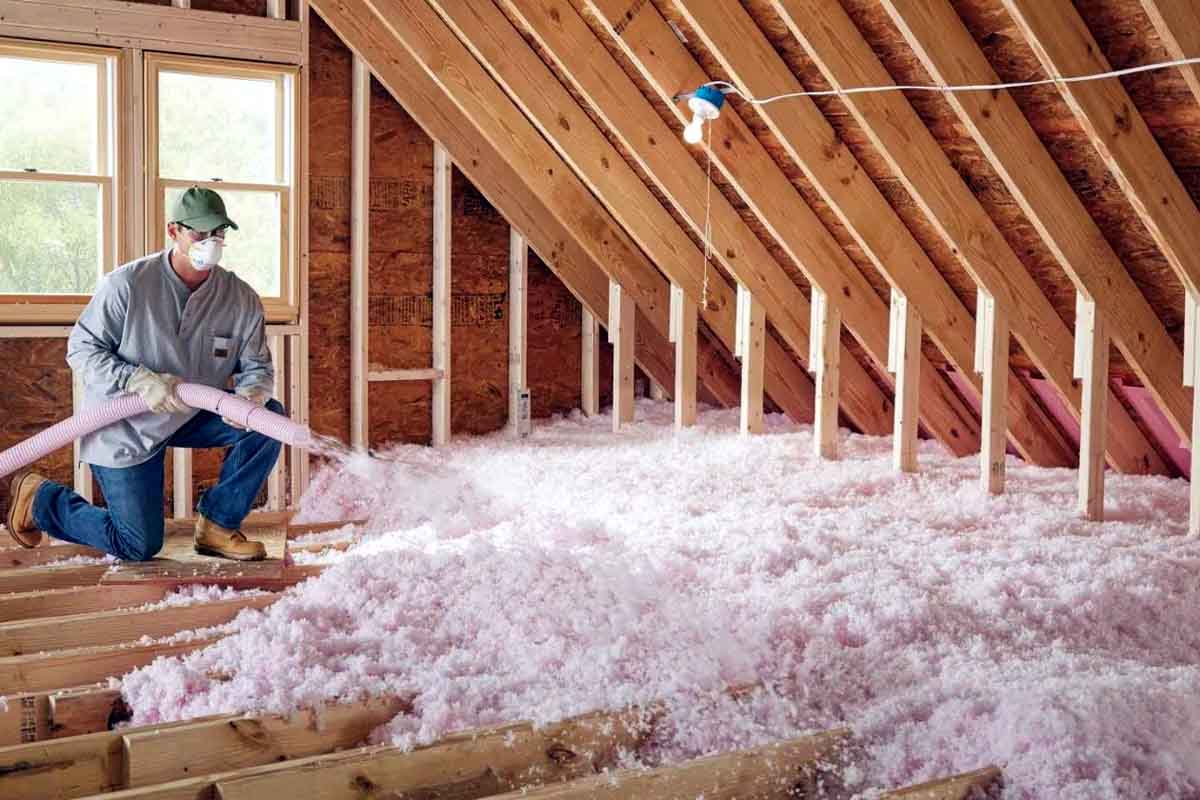
Blown-in insulation, made from either loose fiberglass or cellulose, is blown into place with a rented machine. It fills gaps, corners, and odd spaces far better than batts. Cellulose is made from recycled paper treated with fire retardant, and it is a popular choice in Texas homes. Many home improvement stores lend the blower for free with a bulk purchase.
Spray foam insulation seals air leaks and insulates in one step. It is the go-to option for insulating the roofline. However, it needs special equipment and training, so it is a job for professionals.
Radiant barriers are reflective foil sheets stapled to the underside of the rafters. They do not replace insulation, but in hot climates like Central Texas, they can reduce attic heat gain. They make a good add-on to a properly insulated attic floor.
Tools and Safety Gear You’ll Need
Attics are hot, dusty, and full of hazards, so protect yourself first. Wear an N95 respirator or better, safety goggles, gloves, and long sleeves. Fiberglass and old insulation can irritate your skin, eyes, and lungs.
You will also need a work light, a utility knife, a tape measure, a staple gun, cans of expanding foam, a caulk gun with fire-rated caulk, and a few sturdy boards to kneel on. Never step between joists, because the drywall below will not hold your weight. Work early in the morning, when attic temperatures in Austin are at their lowest, and take breaks to drink water.
Step-by-Step: How to Insulate Your Attic Ceiling
Step 1: Inspect the Attic and Check Your Ductwork
Look for roof leaks, water stains, mold, pest droppings, and damaged wiring. Fix these problems before you add anything. Covering them with insulation only hides them.
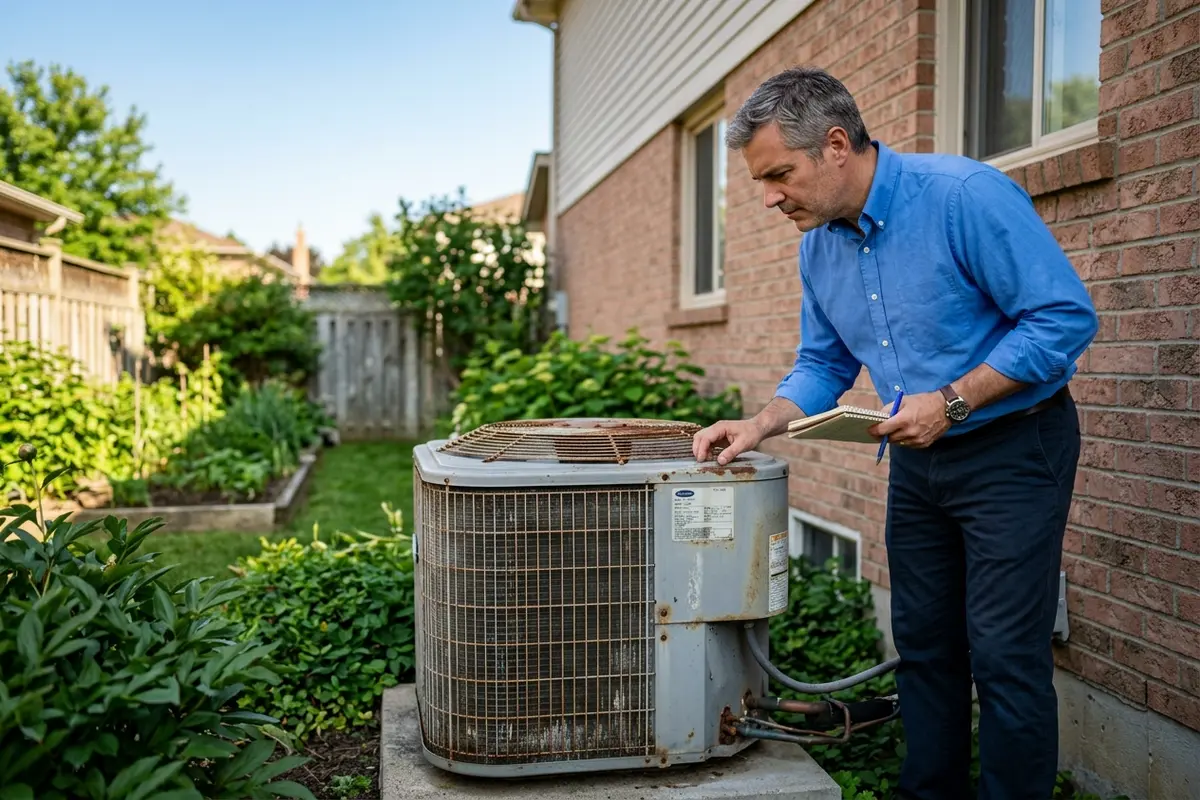
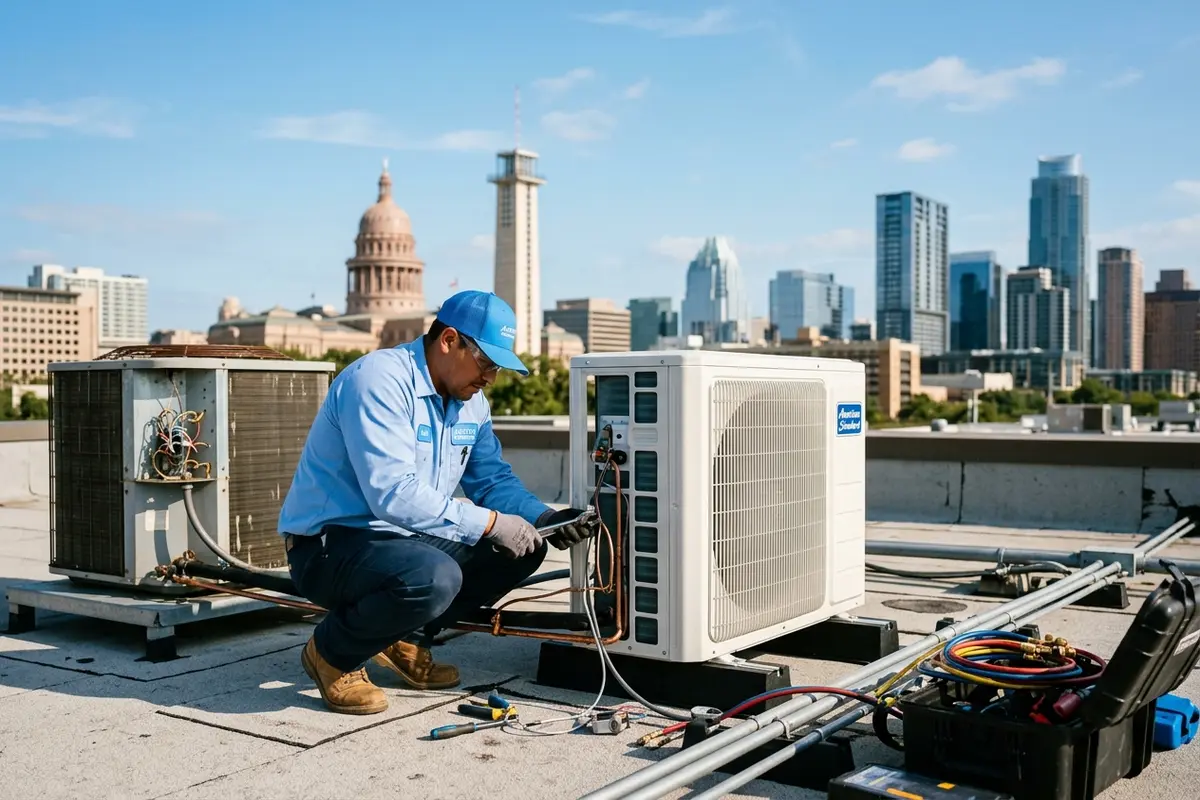
This is also the best time to check your air ducts. In many Austin homes, ducts run right through the attic. Once fresh insulation is in place, those ducts become harder to reach. If they are dirty, disconnected, or leaking, you will be paying to cool your attic instead of your home. A professional duct cleaning and inspection before you insulate helps your system run clean and efficiently.
Step 2: Seal Air Leaks First
Insulation slows heat, but it does not stop air from moving. Air sealing does. Use expanding foam to seal gaps around plumbing pipes, electrical wires, and duct boots. Use caulk on smaller cracks along top plates, which are the wooden framing tops of your interior walls. This step alone can make a noticeable difference in comfort.
Step 3: Protect Vents, Lights, and Chimneys
Install rafter vents, also called baffles, where the roof meets the attic floor. These keep insulation from blocking your soffit vents so the attic can breathe.
Check any recessed lights. Only fixtures marked “IC-rated” can touch insulation. Older fixtures need a safe clearance or a fire-rated cover.
If you have a fireplace, keep combustible insulation away from the chimney. Build a sheet metal dam around it and seal the gap with fire-rated caulk. Since this is a fire safety issue, it is wise to have your chimney inspected and cleaned before the work begins.
Step 4: Measure and Lay the Insulation
Measure your attic’s square footage to figure out how much material you need. For batts, start at the far edges and work toward the attic opening. Cut them to fit snugly around wires and joists without squeezing them, since compressed insulation loses R-value. When adding a second layer, run it at a right angle to the first to cover the joist tops.
For blown-in insulation, one person feeds the machine while another directs the hose in the attic. Push stapled depth rulers onto joists in several spots so you can confirm an even depth across the whole space.
Step 5: Insulate and Weatherstrip the Attic Hatch
The attic access door is often the weakest spot. Glue rigid foam board to the back of the hatch and add weatherstripping around the frame. For pull-down stairs, an insulated cover box works well.
Common Attic Insulation Mistakes to Avoid
The most common mistake we see is skipping air sealing. Another is blocking soffit vents, which traps heat and moisture and can shorten the life of your roof.
A dangerous mistake is covering or venting your dryer duct into the attic. A dryer vent must run all the way outside. Lint that builds up in the attic is a serious fire risk, and trapped moisture can lead to mold. Before insulating, make sure your dryer vent is clean, fully connected, and ending at an exterior wall or roof cap.
Lastly, avoid walking on or packing down the new insulation once it is in place. Crushed insulation loses much of its value.
How Your Air Ducts Affect Attic Insulation Results
Insulation and ductwork work as a team. ENERGY STAR estimates that about 20% to 30% of the air moving through a typical duct system is lost through leaks, holes, and poorly connected ducts. In an Austin attic, that cooled air spills straight into a space that may already be 130 degrees.
Clean, sealed ducts deliver air where it belongs. Pairing a duct inspection with an insulation upgrade gives you the full benefit of both: lower bills, steadier temperatures, and cleaner indoor air.
When to Call a Professional
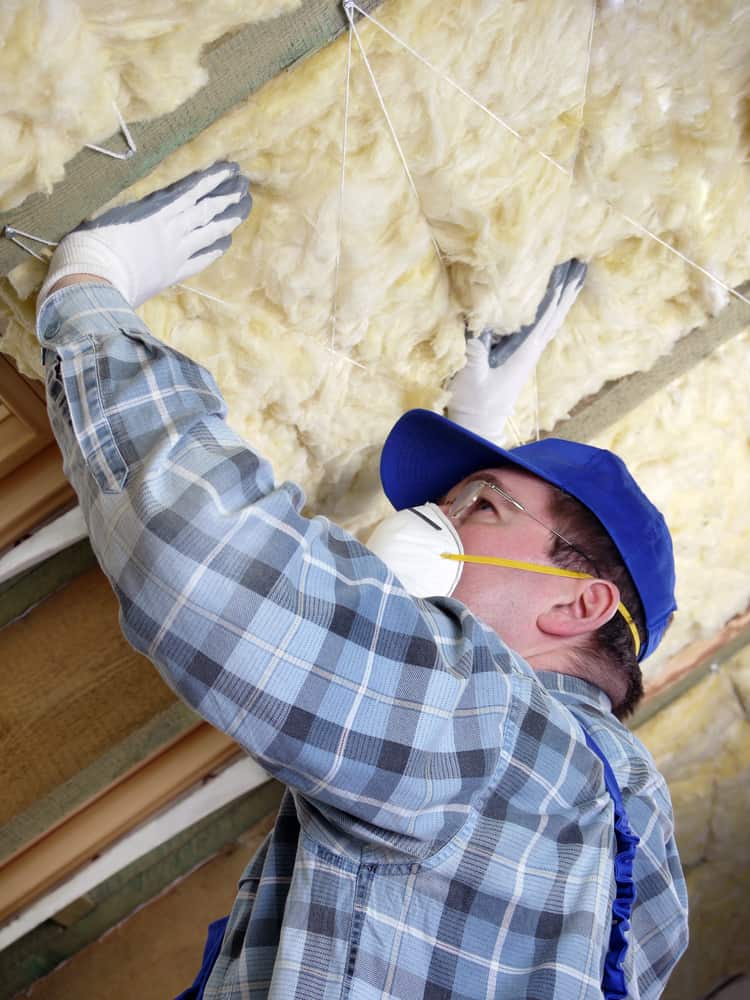
Many homeowners can handle blown-in or batt insulation over a weekend. However, you should bring in a professional if you find mold, pest damage, vermiculite insulation (which may contain asbestos), knob-and-tube wiring, or if you want spray foam on the roofline. Austin Energy also runs efficiency programs that may offer rebates for qualifying insulation work, so check their current offers before you buy materials.
Frequently Asked Questions
What is the best insulation for an attic ceiling in Austin, TX?
For most attics in Austin, TX, blown-in cellulose or fiberglass is the best choice because it fills gaps and irregular spaces well. Aim for R-38 or higher. Pair it with air sealing and a radiant barrier to handle Central Texas heat more effectively.
Should I clean my air ducts before insulating my attic in Austin?
Yes. In many Austin homes, ducts run through the attic, and new insulation makes them harder to reach later. Cleaning and inspecting ducts first ensures clean airflow and helps catch leaks. Greenwood Air Duct Cleaning offers duct inspections throughout Austin, TX.
How long does it take to insulate an attic?
A typical Austin attic of 1,000 to 1,500 square feet takes one to two days for a homeowner. Air sealing and prep take the most time, while blowing in insulation often takes just a few hours with a rented machine and a helper.
Final Thoughts
Learning how to insulate your attic ceiling is one of the best ways to lower cooling bills and keep your Austin home comfortable through the long Texas summer. Start with a careful inspection, seal every air leak, protect your vents, lights, and chimney, and then add insulation until you reach at least R-38. Taking your time on prep work pays off for years.
Before you roll out the first batt, make sure the systems hidden in your attic are in good shape. Greenwood Air Duct Cleaning helps Austin, TX homeowners with professional air duct cleaning, dryer vent cleaning, chimney cleaning, and commercial air duct cleaning. Our trained technicians use truck-mounted and portable vacuum systems to clear out dust and debris so your home breathes easier. Contact Greenwood Air Duct Cleaning today to schedule an inspection before your attic insulation project begins.