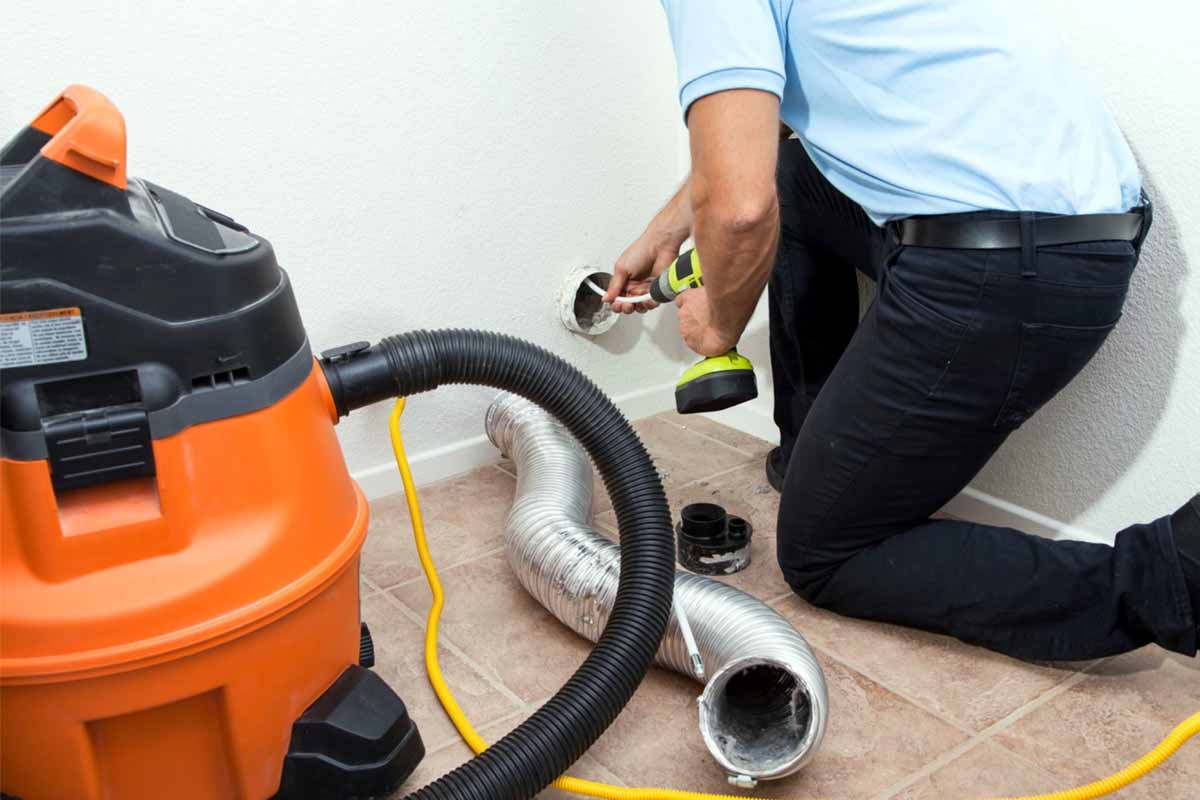
To clean out a dryer vent, unplug the dryer, pull it away from the wall, disconnect the vent hose, and use a dryer vent brush kit to pull lint from the hose, the wall duct, and the exterior vent hood. Vacuum the loose debris, reattach everything securely, and run the dryer for a few minutes to confirm strong airflow. The whole process usually takes forty-five minutes to an hour, and at Greenwood Duct Cleaning, we recommend doing it at least once a year for the average household. That short answer covers the mechanics, but there is more worth understanding before you slide that dryer away from the wall. Lint is not just fuzz. It is one of the most flammable materials in your home, and it collects in the exact place where heat, motion, and restricted airflow meet. Below is the full walkthrough, along with the warning signs, the mistakes people make, and the point at which the job stops being a weekend task and starts being a job for a technician.
Why Cleaning Out Your Dryer Vent Matters
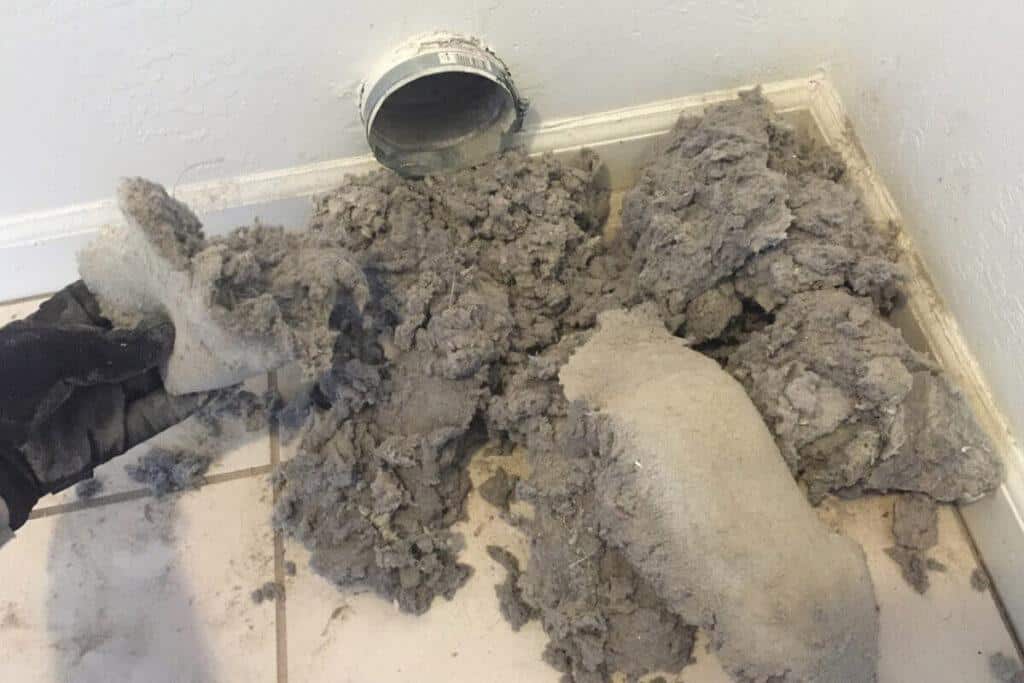
The U.S. Fire Administration has consistently identified failure to clean as the leading cause of home clothes dryer fires. Every load of laundry sheds fibers, and while your lint trap catches a portion of them, the rest travel into the ducting behind the appliance. Over months and years, that lint builds into a dense mat that chokes airflow and traps heat inside the system.
The consequences show up long before a fire does. A blocked vent forces your dryer to run longer cycles, which drives up your electricity or gas bill and wears out the heating element and motor prematurely. Trapped moisture can also raise humidity in your laundry area, encouraging mildew growth on drywall and inside nearby cabinetry. If your dryer is gas powered, a restricted vent can push carbon monoxide back into your living space rather than out through the exhaust. In other words, a task that takes under an hour protects your safety, your budget, and your appliance all at once.
Warning Signs Your Dryer Vent Needs Cleaning
Your dryer will tell you when it is struggling. The clearest signal is drying time. If a normal load that once finished in forty minutes now needs two full cycles, restricted airflow is the likely culprit. You may also notice the top of the dryer or the clothes themselves feeling unusually hot at the end of a cycle, which means heat is not escaping the way it should.
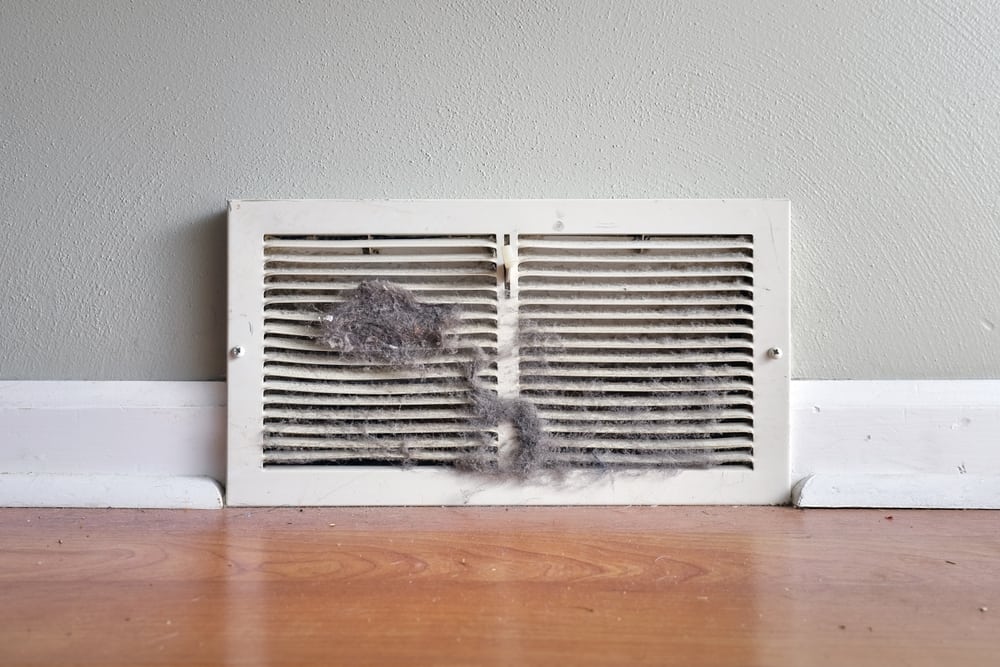
Other indicators are easier to miss. A burning or musty smell during operation suggests lint is scorching against hot components. Lint visibly gathering around the outside vent hood, or a vent flap that no longer opens fully when the dryer runs, points to a blockage further down the line. Some newer machines display a sensor warning for airflow restriction. And if you cannot remember the last time the vent was serviced, that alone is reason enough to schedule it.
Tools You Will Need
You do not need specialized equipment for a basic cleaning. A dryer vent brush kit with flexible extension rods is the essential purchase, and most hardware stores carry one for a modest price. Beyond that, you will want a vacuum with a hose attachment, a screwdriver or nut driver, a flashlight, and either foil tape or a new clamp to reseal the connection when you are finished. Work gloves and a dust mask are sensible additions, since years of accumulated lint tends to become airborne the moment you disturb it.
How to Clean Out a Dryer Vent Step by Step
Step one is to cut the power. Unplug an electric dryer from the wall outlet. If you have a gas model, shut off the gas supply valve behind the appliance before touching anything else. Never skip this step, even for a quick inspection.
Step two is to move the appliance. Slide the dryer forward far enough to work comfortably behind it, taking care not to stretch or kink the gas line. Sliding it onto a pair of furniture glides or a folded towel protects tile and hardwood flooring from scratches.
Step three is to disconnect the vent hose. Loosen the clamp holding the flexible duct to the back of the dryer, then loosen the clamp where it meets the wall duct. Ease the hose off gently rather than yanking it, since older foil hoses tear easily.
Step four is to clean the hose itself. Take it outside if you can and shake out the loose lint, then run the brush through the full length in both directions. Hold it up to the light afterward to check for daylight along the entire run. If the hose is crushed, cracked, or made of thin foil or plastic, replace it with rigid or semi-rigid metal ducting, which resists sagging and traps far less lint.
Step five is to clean the wall duct. Attach the brush to the extension rods and feed it into the opening, adding rods as you go and rotating in a clockwise direction so the sections do not unscrew inside the wall. Push and pull in short strokes to break the lint loose, then vacuum the opening thoroughly.
Step six is to clean the exterior vent hood. Head outside and locate the vent termination, usually on a wall near the laundry room or, in some homes, on the roof. Remove the cover if it comes off easily, clear the lint by hand and with the vacuum, and make sure the damper flap swings freely. A stuck flap invites birds and rodents to nest inside the duct, which is a blockage no brush will solve.
Step seven is to reconnect and test. Reattach the hose at both ends, tighten the clamps, and seal any seams with foil tape rather than standard duct tape, which degrades under heat. Slide the dryer back, restore power or gas, and run a short heat cycle. Step outside and confirm you feel strong, warm airflow at the exterior vent. Weak or barely detectable airflow means something is still blocking the line.
How Often Should You Clean Your Dryer Vent?
Once a year is the baseline for a typical two- or three-person household. Larger families running laundry daily should move to every six months. The same goes for homes with long or complicated duct runs, homes with pets that shed heavily, and any household where the dryer sits far from an exterior wall. Roof-terminated vents and ducts with multiple elbows collect lint faster than short straight runs, and they deserve closer attention.
Common Mistakes Worth Avoiding
The most frequent error is cleaning only the lint trap and assuming the job is done. The trap catches a fraction of what the system produces. Another common misstep is using a leaf blower to force air through the duct, which can dislodge lint into a plug rather than removing it, and can blow it into wall cavities. Reinstalling a damaged flexible hose, overcompressing the ducting behind the dryer so it kinks, and forgetting the exterior hood entirely all leave the system restricted even after an hour of work.
When to Call a Professional
Some situations genuinely call for trained hands and commercial equipment. If your duct run exceeds roughly twenty-five feet, terminates on the roof, passes through a crawlspace or attic, or contains several bends, a household brush kit will not reach the full length. The same applies if you suspect a nest, if you find scorch marks or melted plastic anywhere in the system, or if airflow remains weak after a thorough cleaning.
Greenwood Duct Cleaning uses rotary brush systems and negative air pressure equipment that clear the entire duct run rather than just the accessible ends, and our technicians document airflow before and after so you can see the difference. Our dryer vent cleaning service includes a full inspection of the hose, the duct, and the exterior termination, plus recommendations if any component needs replacement.
Because dryer vents rarely exist in isolation, homeowners often address related systems at the same time. If your laundry area shares space with your HVAC equipment, a professional air duct cleaning service will remove the dust circulating through the rest of the house, while air duct repair and replacement resolve the leaks and disconnected sections that quietly waste conditioned air. Households dealing with recurring odors or allergy symptoms sometimes add UV light and air purification, and homes with high energy bills often find that upgrading attic insulation delivers a larger return than expected.

Frequently Asked Questions
How long does it take to clean a dryer vent?
A straightforward DIY cleaning takes forty-five minutes to an hour, including moving the appliance and testing airflow afterward. Professional service on a standard residential system typically runs sixty to ninety minutes, longer for roof-terminated or unusually complex duct runs.
Can I use a vacuum instead of a brush?
A vacuum removes loose surface lint but cannot dislodge the compacted layer that adheres to duct walls. Use both. Brush first to break the buildup free, then vacuum to extract it.
Is it safe to run the dryer with a partially blocked vent?
No. Restricted airflow traps heat against flammable lint and, in gas models, can push carbon monoxide indoors. If you suspect a blockage, stop using the dryer until the vent is cleared.
Final Thoughts
Cleaning out a dryer vent is one of the highest value hours you can spend on home maintenance. It lowers fire risk, shortens drying cycles, protects an expensive appliance, and keeps moisture and combustion gases where they belong. For most homeowners with a short, accessible duct run, the seven steps above are entirely manageable with a basic brush kit and a bit of patience. But if the ducting is long, the termination is on the roof, or the airflow stays weak no matter how much lint you pull out, the smart move is to bring in equipment built for the job. Greenwood Duct Cleaning has spent years working on exactly these systems, and we would rather inspect a vent that turns out to be fine than get a call after something has gone wrong. Whether you handle it yourself this weekend or schedule a visit, the important thing is that it gets done, and that it gets done before the next load of laundry has to work twice as hard as it should.